When programming in Python, you have two basic options for running code: interactive mode and script mode. Distinguishing between these modes can be slightly confusing for beginners, especially when you’re trying to follow along with others’ tutorials, so here’s a brief rundown.
Interactive Mode
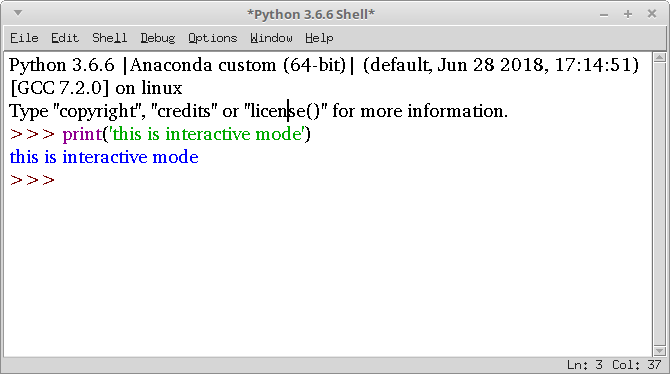
Interactive mode (a.k.a. shell mode) is great for quickly and conveniently running single lines or blocks of code. Here’s an example using the python shell that comes with a basic python installation. The “>>>” indicates that the shell is ready to accept interactive commands. So for example if you want to print the statement “this is interactive mode”, simply type the appropriate code and hit enter.

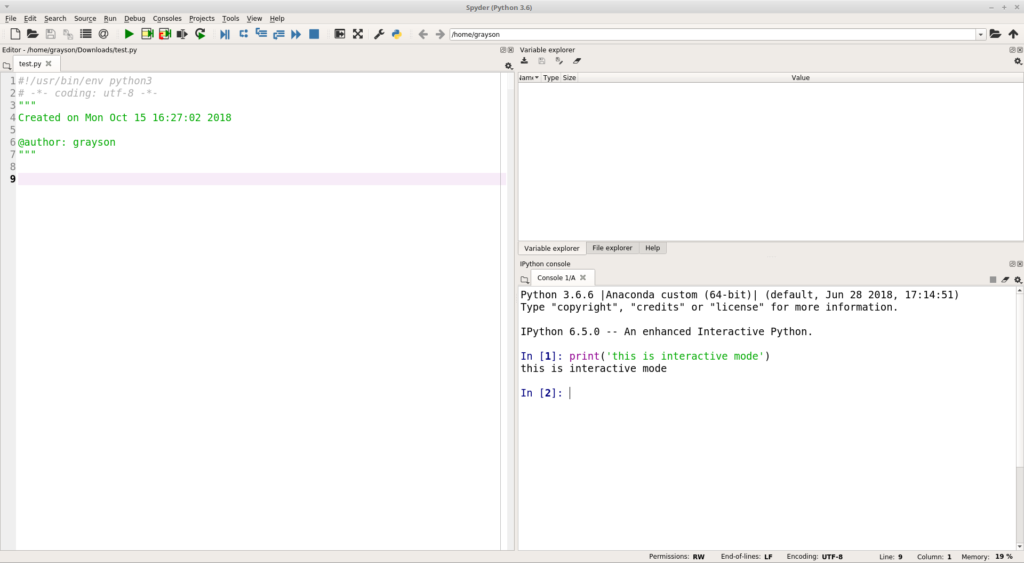
If by chance you instead have the Spyder code editor installed, printing the same statement in interactive mode will look something like this:

The IPython console used above in Spyder is a little different from a normal Python shell, but for our purposes we can treat them as more or less identical.
If you play around with both tools, you may notice that if you input a line of code that’s the first line of some larger block of code, like a for loop or conditional statement, you will be allowed to enter additional lines of code after the first. Press enter twice after your last line of code, and the whole block will run.
Script Mode
Now let’s look at script mode (a.k.a. program mode). If you are working with more than a few lines of code, or you’re ready to write an actual program, script mode is what you need. Instead of having to run one line or block of code at a time, you can type up all your code in one text file, or script, and run all the code at once.
In the standard Python shell you can go to “File” -> “New File” (or just hit Ctrl + N) to pull up a blank script in which to put your code. Then save the script with a “.py” extension. You can save it anywhere you want for now, though you may want to make a folder somewhere to store your code as you test Python out. To run the script, either select “Run” -> “Run Module” or press F5. You should see something like the following:

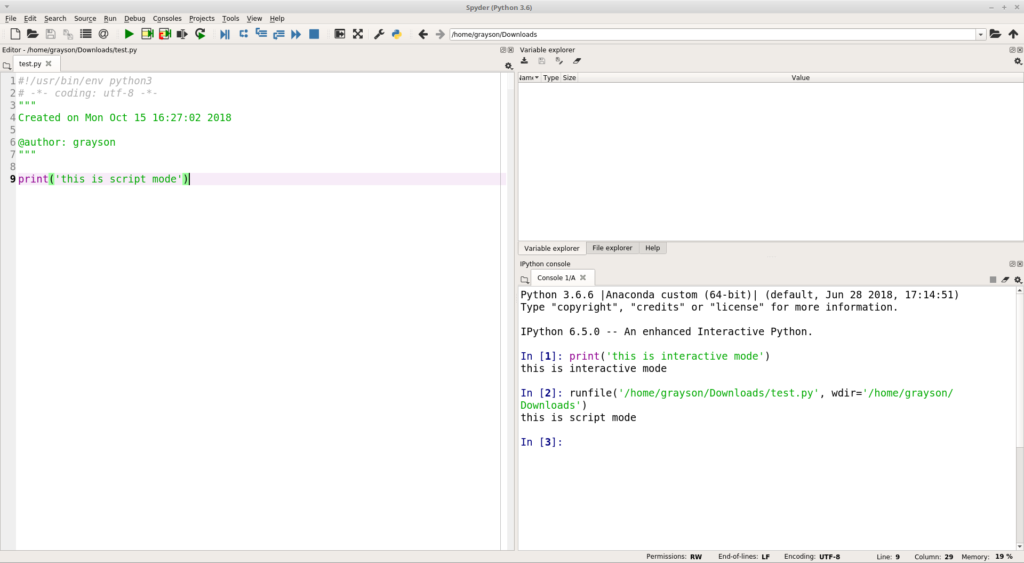
If instead you are using Spyder, here’s what running the same code in script mode will look like. The process is similar, except you’ll click the green “Run file” button in the tool bar (or press F5 again) to run the script.

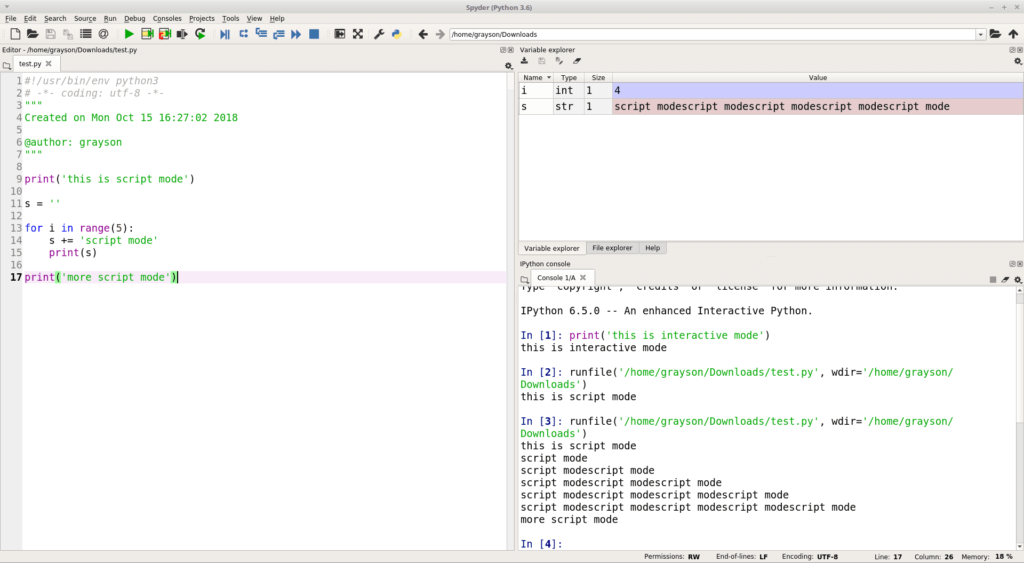
As you’ll see, if you’re working with more than a handful of lines of code or you’re building an actual program, script mode is often the way to go. Here’s a simple example with more than a single line or block of code that you’d have to enter in separate commands in interactive mode.

Use print() to display values in script mode
Note that some code, when executed, will result in something being displayed in interactive mode, but that same code will be ignored in script mode.
For example, try running 1 + 1 in both modes. Interactive mode will display the result of the calculation, while script mode won’t result in anything being printed to the console. This is where the print() function comes into play, as seen earlier in this post.
Executing Lots of Code in Interactive Mode
You might find, however, that there are times when you want to run lots of code but don’t feel like saving a script. In this case, there are a couple things you can do to make interactive mode run more code.
The first way is to simply copy and paste all the code from wherever into the shell or IPython prompt. Often this will run all the code just fine.
The second way, and what I often find most convenient, is to copy and paste the code in question to a blank script in Spyder. Then you highlight however much of the code you want to run and hit Ctrl + Enter. This will run all the highlighted code interactively without you ever having to save a script. This makes it really easy to quickly test out different parts of a script and is a nice mixture of interactive and script mode.
Leave a comment